

Looking for a reliable "Yoosee manual" on how to set up, operate, and troubleshoot Yoosee smart cameras? You're in the right place. As an app evaluation expert, I’ve crafted this guide in a friendly, conversational style—no robotic jargon. We’ll walk through every aspect, step by step, from installing the app to sharing your camera, tweaking motion detection, and integrating with PC software.

I. Overview of Yoosee & What It Offers
A. What Is Yoosee?
Yoosee is a free smart home security camera system that leverages CloudLink P2P network transmission. It allows you to monitor video and audio feeds remotely from anywhere—perfect for keeping tabs on loved ones, pets, or belongings.
B. Why It’s Popular
Fully free to use—no subscription fees.
Supports live streaming, motion detection, two-way audio, recording, and more.
Available on mobile apps (iOS/Android) and PC (Windows) through CMSClient software.
Supports multiple platforms, making it accessible from smartphones, tablets, and computers.
C. Basic System Requirements
Works only on 2.4 GHz Wi-Fi networks; 5 GHz or hidden SSIDs are not supported .
Stores footage on up to 128GB microSD cards, formatted FAT32 or exFAT.
Requires stable internet connectivity for live streaming and remote access.
II. Installing the App & Creating an Account
A. Getting the Yoosee App
Download from Google Play or the App Store.
For PC users, install CMSClient software for Windows from the official Yoosee site .
Always use the latest version to ensure compatibility and security.
B. Creating Your Account
Register using email or phone number—email is ideal for recovery.
Mobile verification ensures a secure password setup.
Use a strong password and link your phone for enhanced security.
III. Camera Hardware Setup
A. Physically Connecting Your Camera
Plug it into power—wait ~30 seconds for the “du du” startup chime .
If it doesn't respond, reset it by holding the reset button until you hear "reset successful."
Learn the indicator lights—network, alarm, and recording—so you know it's functioning correctly.
Choose a stable, well-lit spot for installation, connecting it securely to power.
B. Networking Essentials
Ensure your router allows 2.4 GHz and disable isolation or interference settings .
Keep your mobile on the same Wi-Fi network during setup.
Ethernet setup—optional wired connection—offers a fallback for unstable Wi-Fi.
IV. Connecting the Camera to Wi-Fi
A. Smart Link (QR/Sound Code) Method
In the app, tap “+” > Smart addition.
Let the camera emit its “du du” sound, then generate QR code or acoustic signal from the app.
Camera scans it, connects to Wi-Fi, and confirms with a beep .
If this fails (due to router security), proceed to AP Mode.
B. AP Hotspot Mode
Tap “+” > Add devices manually or AP connection.
Connect your phone to a network starting with GW_AP_.
Enter your home Wi-Fi credentials to link the camera .
Name the camera when prompted.
C. Wired (Ethernet) Method
Connect camera to router via cable.
In-app, choose Add Online to auto-discover the camera .
Assign a custom name. Wired is more stable but less flexible.
V. Basic App Settings
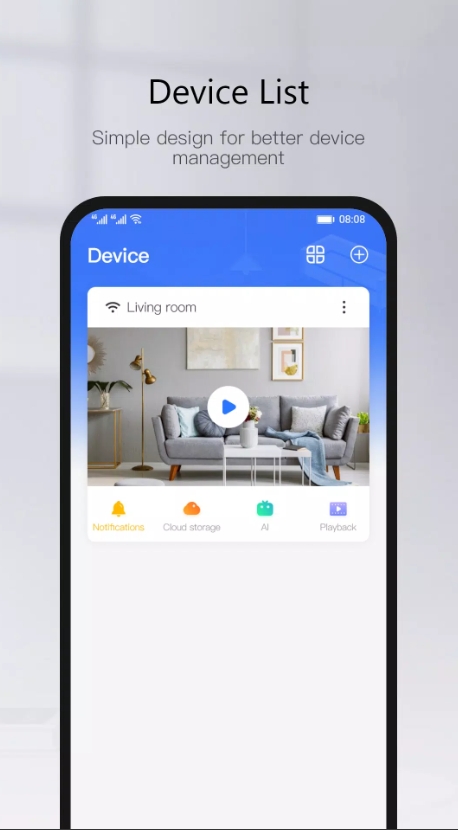
A. Naming & Organization
Tap the gear icon next to a camera in the device list to rename it (e.g. Living Room, Front Door).
B. Video Quality & Timing
Adjust resolution/frame rate based on network conditions.
Sync date/time settings to ensure accurate timestamps.
C. Network Details
Modify IP (DHCP/static) or switch between Wi-Fi and Ethernet in settings menu.
VI. Advanced Camera Settings
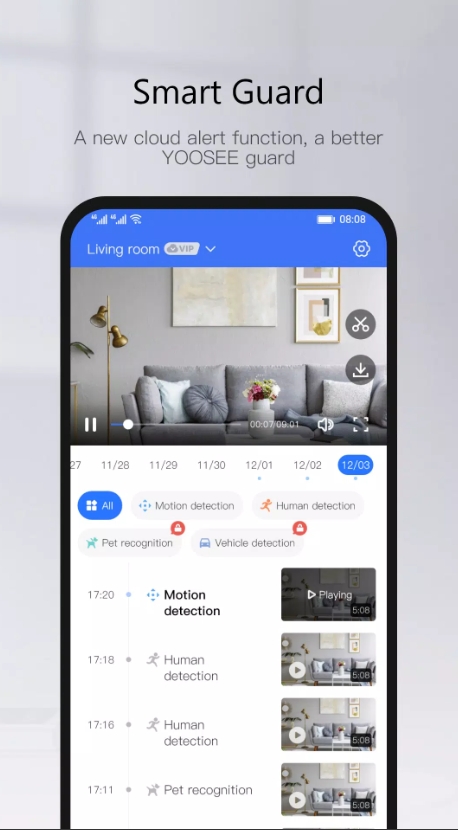
A. Motion Detection
Toggle Motion Detection on/off.
Adjust sensitivity (Low–High).
Define detection zones to minimize false alerts .
Enable PIR (passive infrared) if available for more precise sensing.
B. Recording Modes
Choose continuous, alarm-triggered, or manual recording.
Format SD card (FAT32/exFAT) via app to ensure smooth operation.
Turn on loop recording to overwrite oldest files when storage is full.
C. Night Vision & Audio
Set IR night vision behavior for low-light performance.
Activate two-way audio with volume control.
Enable voice recording or live intercom.
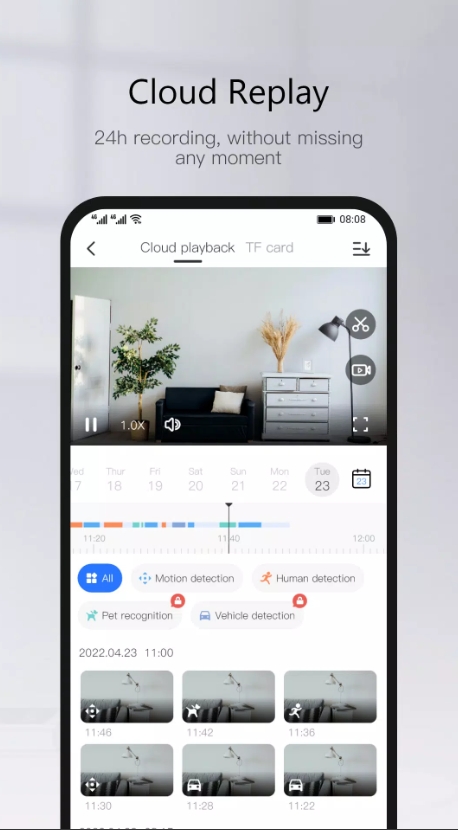
VII. Playback and Recording Review
A. On-Device Playback
Open Local Playback to browse SD card recordings.
Check if recordings are looped properly and quality meets expectations.
B. Remote Viewing
Use the app to stream recorded clips remotely.
If unavailable, verify settings, firmware, and SD card format.
C. File Management
Play, download, and organize clips in-app or via PC.
Use PC software for backup and long-term storage.
VIII. Alarm Systems & Notifications
A. Motion Notification Setup
Enable Push notifications in Alarm settings.
Configure email alerts with image attachments from captured footage .
B. Audio & Visual Alarms
Activate the built‑in buzzer or siren for live deterrence.
Schedule alarms to activate only during specific hours.
IX. Camera Sharing & Multi‑User Setup
A. Sharing Methods
Account sharing: Invite via email or phone.
QR code sharing: Share access quickly with friends or family.
Alternatively, enable QR code-based guest access for limited control.
B. Permissions
Customize user roles—view only, view & speak, or full admin.
Share then review access status and revoke as needed.
X. PC Software: CMSClient Overview
A. Installing CMSClient
Download the Windows version from official source.
Use administrator mode for installation .
Access via Local login (admin, no password) or by linking your Yoosee account for remote access .
B. Advanced Features
View multiple cameras, control PTZ, and adjust recording strategies.
Access playback, snapshots, and log files.
Backup to local directory and apply auto-start recording.
Convert camera
.avfiles to.mp4for easy sharing .Set motion alerts with pop-up and buzzer.
Add new cameras by automatic scan or manual ID entry .
XI. Troubleshooting & Maintenance
A. Common Issues
Wi‑Fi failure: Check SSID, password, and router settings (2.4 GHz/no isolation) .
Camera offline: Reboot device/router, remove SD card, re-add the camera.
App connection errors: Ensure location services are enabled on your phone.
Firmware update issues: Use mobile hotspot or contact for support.
B. Optimization Tips
Regular SD card formatting and replacement prevent data glitches .
Firmware upgrades improve reliability—check in Settings.
Keep camera lens clean and place within strong Wi‑Fi range.
Regularly backup footage via PC.
This “Yoosee manual” equips you with expert-level knowledge in plain English. From download and account setup to advanced PC integration and smart troubleshooting—you’ve got the full picture. Yoosee truly offers a robust, zero-cost home security solution with flexible features like motion detection, remote alerts, shared access, and multi-device support.
Want help optimizing motion zones, multi-camera layouts, or email configurations? I’m happy to walk you through it—just say the word!